How to Use a Planner for Beginners: Tips and Ideas

For a beginner, using a planner may seem like a daunting task at first, but it can be a game-changer when it comes to productivity, organization, and stress reduction. A planner (also called an organizer, agenda, LifePlanner™, calendar journal, and calendar organizer) is a tool that can help you manage your time better, prioritize tasks, and reduce mental clutter by keeping important information all in one place. When it comes to the benefits of using an agenda, how to choose the best beginner planner for you, and tips and ideas for using your organizer effectively, we've got you covered. Let's start off with why you need a planner in the first place.
Why Use a Planner?
There are many benefits to using a planner. For one, it can help you stay organized by keeping important information and checklists in one place. It can also help you manage your time better by giving you a clear picture of what you need to do each day, week, or month. Writing things down can also help you remember them and it can reduce mental clutter by freeing up brain space. Using an organizer can also reduce stress by giving you a sense of control over your life and reducing the feeling of overwhelm that can come from trying to track it all between countless apps and digital platforms.
How to Choose the Best Beginner Planner for You

Out of this year's best planners, there may be more than one that can help you organize your life. Choosing the best calendar organizer for you can, therefore, feel overwhelming. However, there are a few key factors to consider when choosing a starter planner. First, consider the layout. Do you prefer a horizontal life planner or a vertical life planner? A horizontal layout will have the days of the week running across the page, while a vertical layout will have them running down the page. Think about which one will work best for your needs. You may also want to consider a bullet journal, or dot grid notebook, which gives you more flexibility in terms of layout and design.
Second, consider the format. Do you want a daily planner, a weekly planner, or a monthly planner? Daily planners are great for those who need to plan their day hour-by-hour, while weekly planners are good for those who want to see the big picture of their week at a glance. Monthly planners, or calendar planners, are ideal for those who want to plan ahead and see the big picture of their month.
Learn the pros and cons of a planner vs. calendar and how to choose the right tool for your needs.
Third, consider the planner size. Do you want a large organizer that you can keep on your desk, or a smaller one that you can carry with you? Think about how and where you'll be using your agenda, and choose a size that works for you.
How to Use a Planner for Beginners

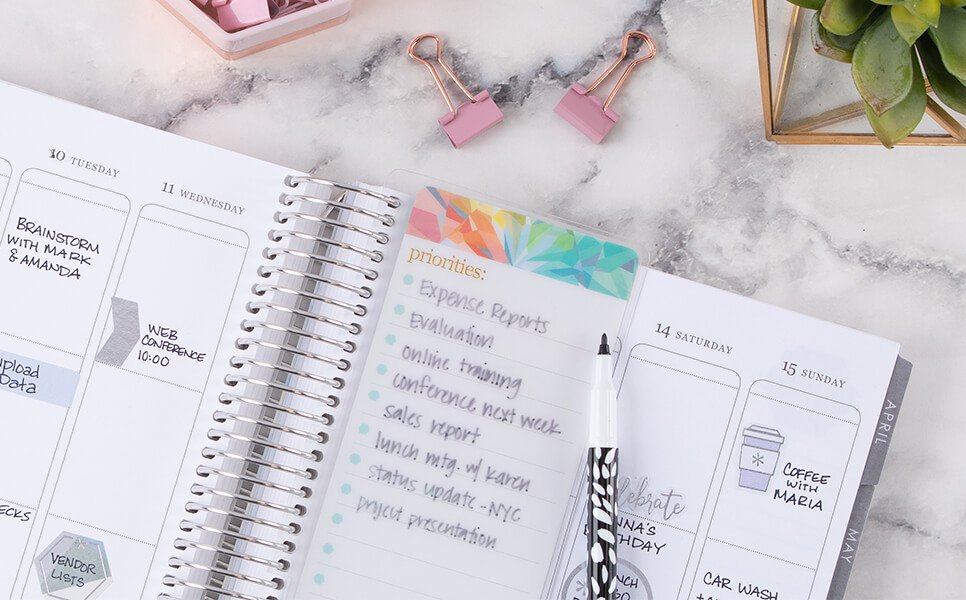
Once you've chosen your calendar planner, it's time to start using it! Here are some planning tips and steps to get you started:
Step 1: Set Your Planning Goals.
Before you start using your organizer, think about what you want to achieve with it. Do you want to be more productive, manage your time better, reduce stress, or all of the above? Write down your goals and keep them in mind as you plan.
Step 2: Add Important Dates.
Add all of your important dates to your calendar organizer, including due dates, birthdays, anniversaries, and other special occasions. This will help you stay on top of your schedule and avoid missing important deadlines or events.
Step 3: Make To-Do Lists.
Create to-do lists for each day, week, and month. Write down all of the tasks that you need to complete and prioritize them based on importance. This will help you stay focused and on track throughout the day.
Step 4: Track Your Tasks.
Track your tasks as you complete them. This will help you see your progress and give you a sense of accomplishment. You can also use this information to adjust your plans and goals as needed.
Step 5: Use Pages for Goals.
Use specific pages in your planner for your long-term goals. This will help you stay focused on what's important and motivate you to work towards achieving them.
Step 6: Set Up Your Planner Pages.
Divide your planner pages into sections for different areas of your life, such as work, home, and personal tasks. This will help you stay organized and ensure that you don't miss any important tasks.
Planner Ideas for Beginners

If you're not sure where to start with your agenda, here are some tips and easy planner layout ideas for beginners:
- List Making: Make lists for tasks, groceries, or ideas. This is a simple way to keep track of things and ensure that nothing falls through the cracks.
- Goal Setting: Write down your goals and break them down into smaller tasks. This will help you stay focused and motivated as you work towards achieving your goals.
- Daily, Monthly, and Yearly Overviews: Use different sections of your calendar journal to plan for different time frames. This will help you stay on top of your schedule and avoid feeling overwhelmed.
- Visualization and Motivation: Use pictures, quotes, or stickers to motivate and inspire you. This is a fun and creative way to customize your planner and make it more personal.
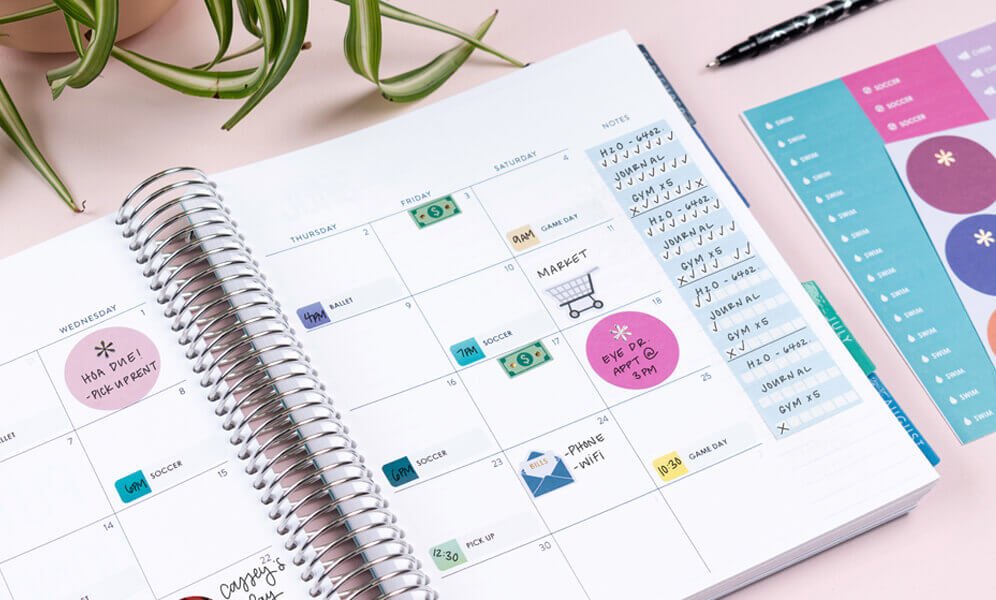
- Habit Tracking: Use a habit tracker to monitor your progress on forming new habits. This can be a powerful tool for building good habits and breaking bad ones.
- Meal Planning: Plan your meals for the week or month. This can help you save time and money, and ensure that you're eating healthy and nutritious meals.
- Journaling and Memory Keeping: Use your planner as a journal or memory book. This is a great way to document your life and create a keepsake that you can look back on in the future.
- Organizing and Planning Content: If you're a writer or content creator of any kind, use a planner to organize your thoughts for writing, set and track your writing goals, and plan your content schedule.
Easy Planner Decorating Tips for Beginners

If you want to add some personality and creativity to your planner, here are some planner tips for basic planning supplies for beginners:
- Colored Pens or Markers: Writing tools are a fun way to add color and personality to your planner. Use different colors to differentiate between tasks or categories.
- Stickers: Stickers are a great way to add visual interest and personalize your planner. You can find stickers for just about any theme or occasion.
- Washi Tape: Washi tape is a decorative tape that comes in a variety of colors and patterns. It's a fun way to add borders, dividers, or accents to your planner pages.
- Sticky Notes: Sticky notes are a versatile tool that can be used to add extra notes or reminders to your planner pages.
Basic Planning Supplies for Beginners

If you're just starting out with a new planner, here are some basic supplies that you'll need:
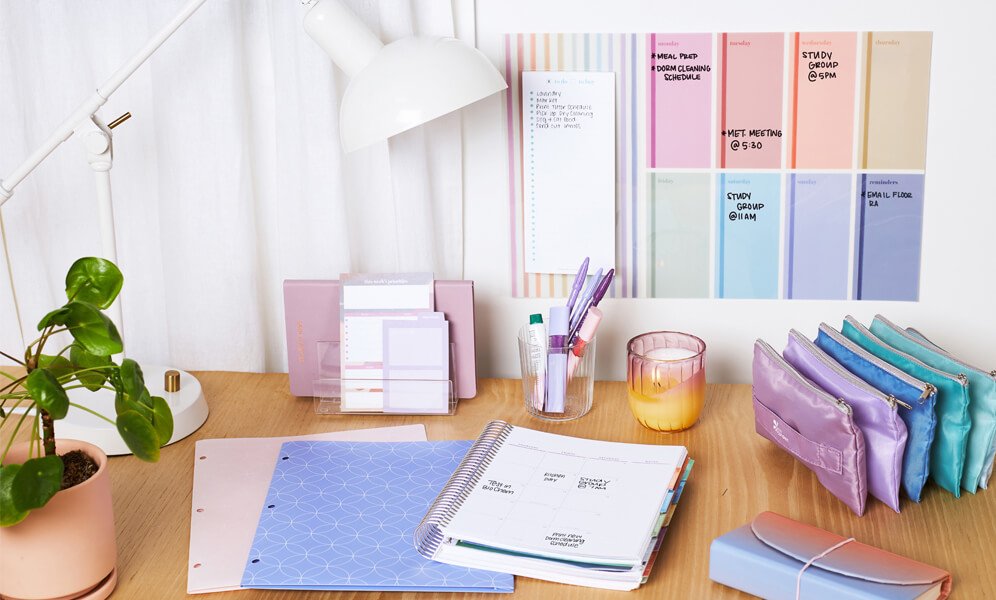
- A Paper Planner: This is the most important supply! Following the tips above, choose a planner that works for your needs and preferences.
- Dual-Tip Markers and Pens: You'll need something to write with. Choose pens and markers that are multi-functional and that are comfortable to use and won't bleed through the pages. Dual-tip markers are a great option for colorful and precise writing.
- Highlighters: Use colorful highlighters to draw attention to important information or to color-code your tasks. Choose highlighter sets with color schemes that match your aesthetic and complement the interior design theme of your organizer.
- Sticky Notes: These are handy for adding extra notes or reminders to your planner pages. Opt for cute and colorful sticky notes that are also fun and functional.
- Paper Clips or Binder Clips: These can be used to mark pages or sections of your planner that you want to access quickly. Use a variety of colors and patterns to add a fun touch to your planner.
Beginner Planner Tips for Staying Motivated

Here are some planning tips for staying motivated to use your planner every day:
- Keep your planner in a visible and accessible place: Keep your planner in a place where you'll see it often, such as on your desk or by your bedside table. This will remind you to use it regularly.
- Use it consistently and regularly: Make using your planner a part of your daily routine. Set aside time each day to review your tasks and plan for the next day.
- Set reminders or alarms to check your planner: Use reminders or alarms on your phone or computer to remind you to check your planner regularly. This will help you stay on top of your schedule and avoid missing important deadlines or events.
- Reward yourself for using it consistently: Set up a reward system for yourself to motivate you to use your planner consistently. This could be something as simple as treating yourself to your favorite snack or taking a relaxing bath at the end of the week.
Using a planner, bullet journal, paper calendar, or a multi-functional organizer (that combines a calendar, checklist, and journal all in one) can truly help improve your productivity and organization. By choosing the right organizer, setting goals, and using it consistently, you can reduce stress, manage your time better, and achieve your goals more effectively. Whether you prefer a bullet journal or a calendar journal, there are many LifePlanner™ hacks and planning tips and ideas that can help you make the most of your starter planner. So, explore planner best sellers to find your perfect everything organizer and start planning your way to a more meaningful, fulfilling life through organization.
More Planning Guides for Beginners
For more planning tips, prompts, and inspo, check out these popular planning guides:
- How to Start Planning: 15 Tips to Start a Planner
- How to Find Your Planning Style
- Daily 5-Minute Planner Check-Ins: 60 Planner Prompts to Inspire + Motivate Your Planning Journey
- How To Make a Budget: Budget Planning for Beginners
- Daily LifePlanner™ vs. Weekly LifePlanner™: Which One Is Better for You?
- Meal Planning Tips: How to Meal Plan for Beginners
- How to Use a Weekly Planner
- Daily vs. Weekly Planner: Find Your Perfect Match
- How to Get Organized When You Are Overwhelmed: 10 Easy Tips
- Top 20 Planning Tips from Erin Condren Experts
Shop now. Pay in 4.
Always interest-free.
You must be over 18, a resident of the U.S. and meet additional eligibility criteria to qualify. Late fees may apply. Estimated payment amounts shown on product pages exclude taxes and shipping charges, which are added at checkout. Click here for complete terms. Loans to California residents made or arranged pursuant to a California Finance Lenders Law license.
© 2020 Afterpay
Pay in 4 interest-free payments
No impact on credit score and no late fees.
Available for purchases of $30 to $1,500.
Today
2 weeks
4 weeks
6 weeks
- Choose PayPal at checkout to pay later with Pay in 4.
- Complete your purchase with a 25% down payment.
- Use autopay for the rest of your payments. It's easy!
Pay in 4 is available to consumers upon approval for purchases of $30 to $1,500. Pay in 4 is currently not available to residents of MO or NVMissouri or Nevada. Offer availability depends on the merchant and also may not be available for certain recurring, subscription services. When applying, a soft credit check may be needed, but will not affect your credit score. You must be 18 years old or older to apply. PayPal, Inc.: Loans to CACalifornia residents are made or arranged pursuant to a CACalifornia Financing Law License. GAGeorgia Installment Lender Licensee, NMLS #910457. RIRhode Island Small Loan Lender Licensee. NMNew Mexico residents:
Find more disclosures related to Pay in 4.