
Y’all – interior design can often seem intimidating, but I’m here to tell you, it’s not! What I love most is the ability to incorporate multiple themes, patterns, and textures that are seemingly very different, yet combine to create a balanced and beautiful picture. You don’t need an entirely cohesive design theme to style a stunning space!
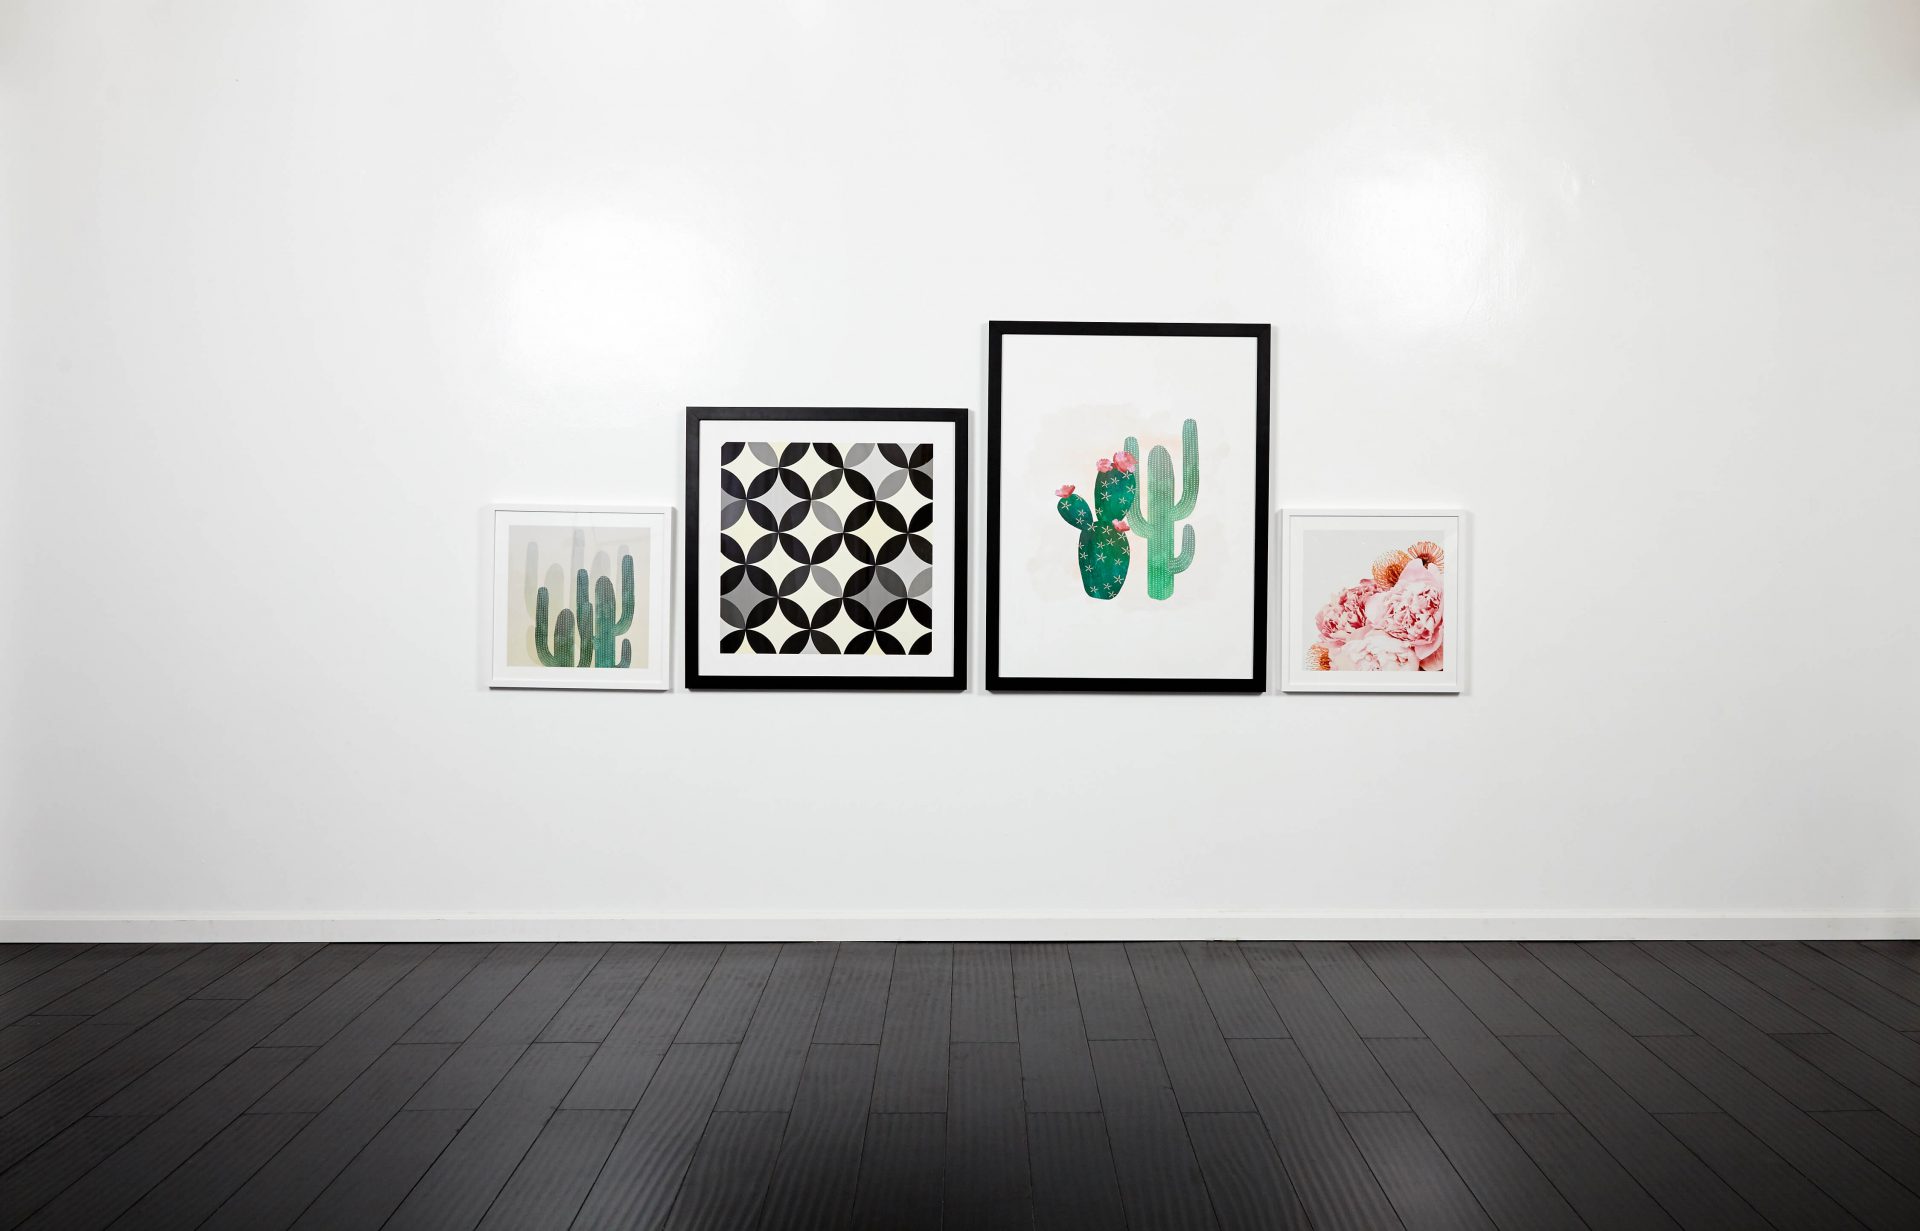
Speaking of pictures, one of the cutest and easiest ways to add interest and variation to your decor is by creating a gallery wall! It’s a great way pull in various colors and wood finishes to incorporate a wider range of furniture and design elements. In a nutshell, when it’s not so matchy-matchy, you’ll find more incorporate pieces you already own with a few new items to add some life!

What You’ll Need:
– nails
– hammer
– Phillip’s head screwdriver
– level
– tape measure
– pencil & eraser
– blue painter’s tape
– TakeNote™ Notebook or journal to jot down dimensions
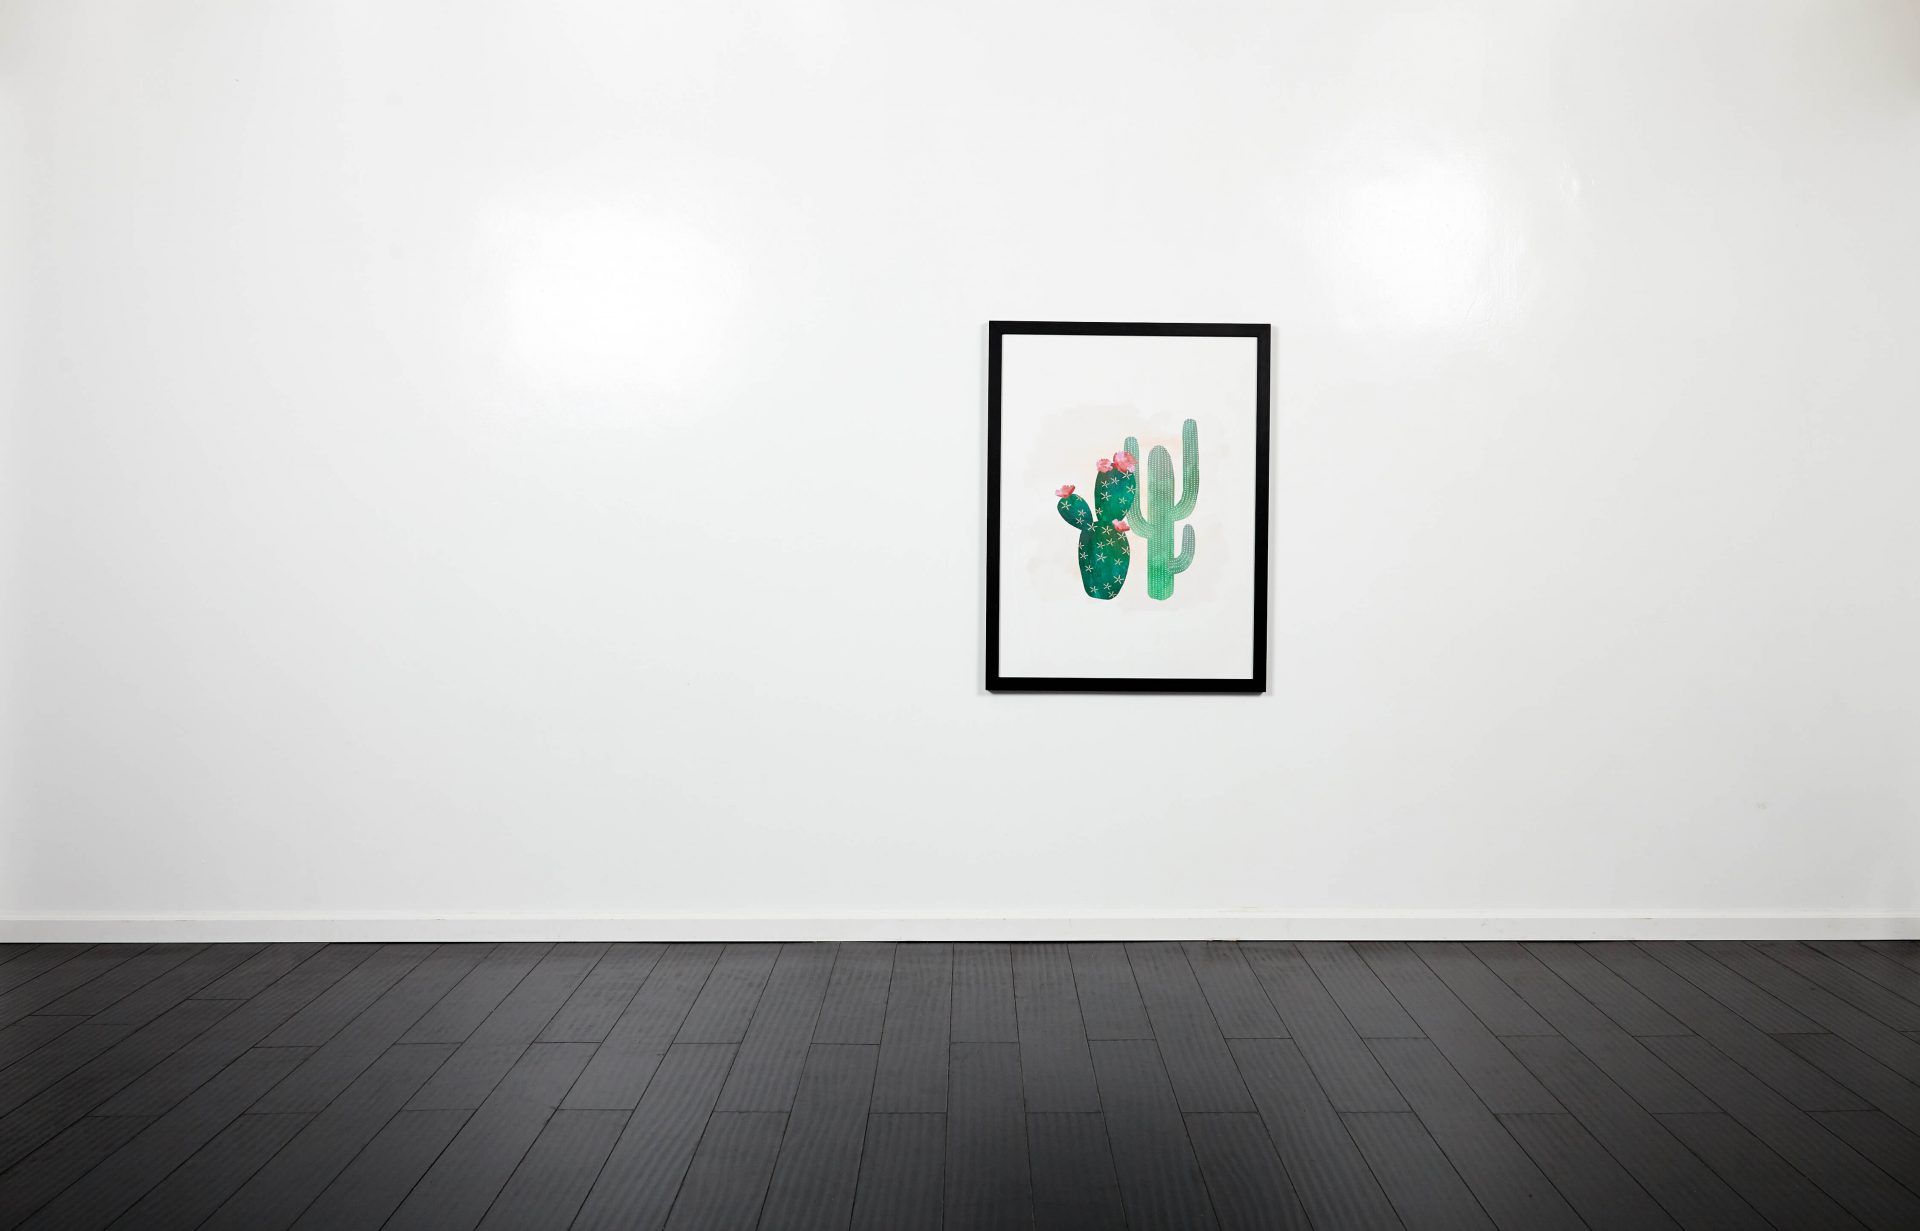
Pick Your Prints
By far the hardest part is picking which prints are your favorite- there’s just so many sophisticated styles to choose from! While there is no right or wrong way to choose your prints, I recommend picking a common design theme or color to create a cohesive yet diverse look. One of the most versatile combinations are the neutral black and white designs such as scribbles, prismatic, and mid century circles neutral.


Set Your Scheme
Now’s the fun part: set your scheme! Roughly map out the size of your wall on a clean floor space and get to work assigning a spot for each print. Balance is key: play with different orientations and layouts, keeping in mind frame color (if they are varied) and size. It’s a bit like a real-life game of Tetris- the goal is to find a scheme that fits every frame in a (fairly) symmetrical way. Once you’ve got it down, snap a photo for reference when hanging!
Display Your Design
Take this part slow – it will prevent you from having to re-hang prints if your placement is off! Start with the anchors, the largest prints, and work your way outward. You can choose to outline your prints in pencil and painter’s tape, or you can simply rely on your photo to guide you.
And voilà! You’ve transformed your space into something totally unique that you’ll love coming home to day after day.
Want more of the inside scoop on all things Erin Condren? Sign up for VIP Black Friday access to receive more info on promotions & products!
Comments are closed.